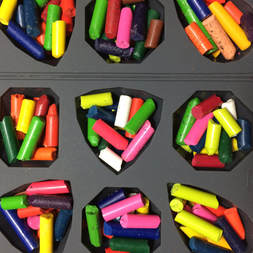
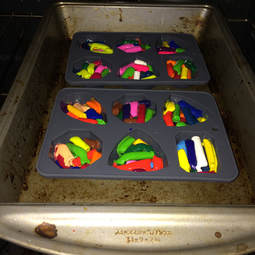
How sweet are those crayons? Here's how I made them: You'll need crayons, a silicone baking mold, a cookie sheet, oven mitts, and an oven. 1. Peel the paper off a bunch of old crayons (or new crayons work, too). 2. Break the crayons into smaller pieces. 3. Put the crayon pieces in the mold. I chose a gem shape, but there are a lot of options in the baking/chocolate making aisle. 4. Place the silicone mold on the cookie sheet for stability.
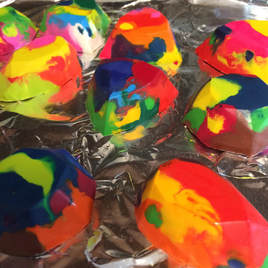
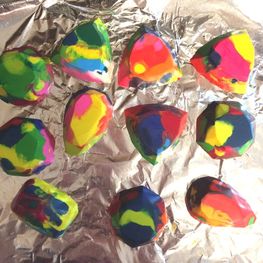
5. Put the cookie sheet with the crayon filled mold in the oven. 6. Bake the crayons for 18-20 minutes at 225-230 degrees Fahrenheit. 7. Turn off the oven. 8. Put on the oven mitts and CAREFULLY take the cookie sheet with the mold out of the oven. You really need to be careful doing this step because the crayons have melted into hot liquid wax. If the wax splatters or spills on you, you will get a terrible burn. 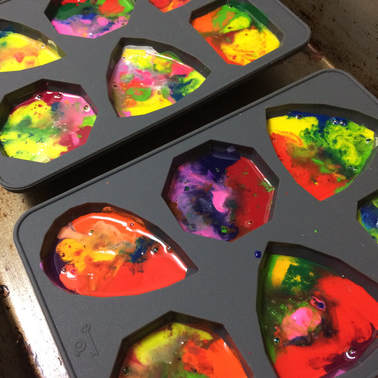 Melted crayons=liquid bubbling wax. Be careful! 9. Place the cookie sheet on the stove or other hear resistant surface to cool for about an hour. 10. As the crayons cool, they will solidify. Once they are solid and no longer warm to the touch, you can pop them out of the molds! After I pop them out of the molds, I like to line them upon foil to let them cool even more. You can can also put them in the refrigerator after you pop them out to really make sure they are cooled and hardened all the way through.
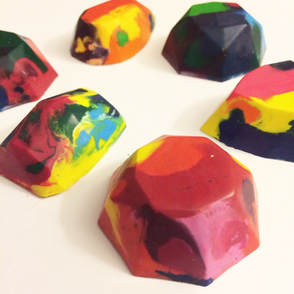
11. Voila! Now, you have beautiful rainbow crayons! 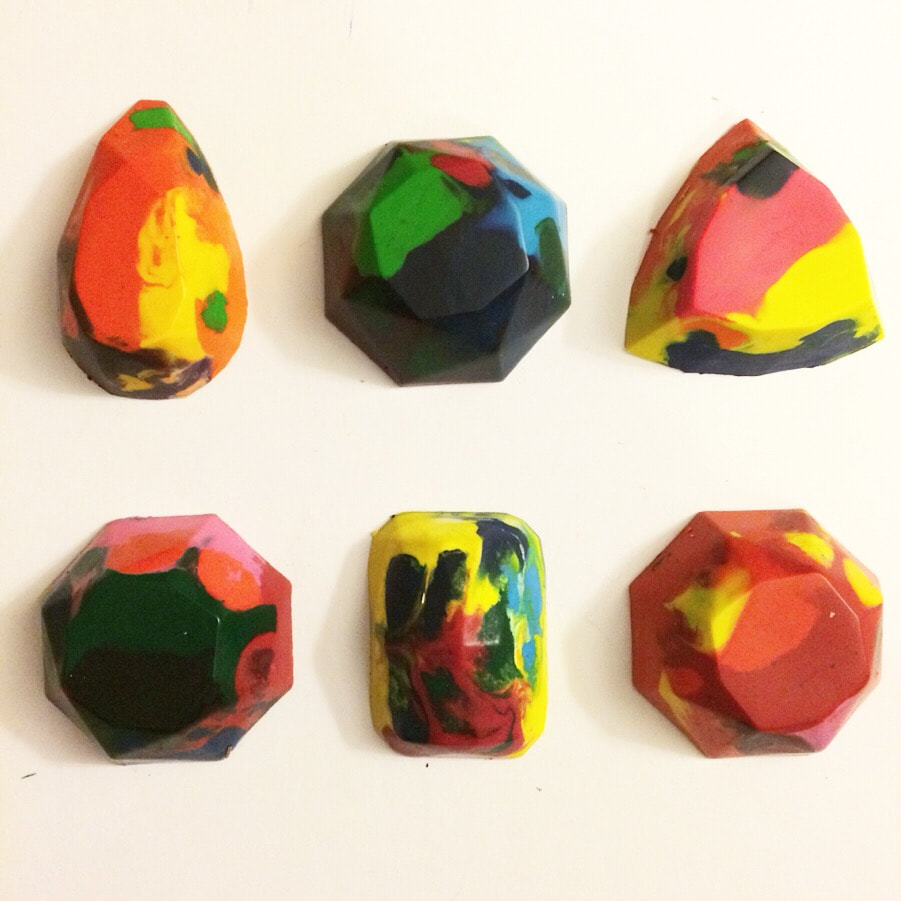 Voila!
0 Comments
Your comment will be posted after it is approved.
Leave a Reply. |